MM logo white 1
MM logo red
Image description is not available

How to take a screenshot on a MacBook?

Luca19 APRIL 2026
Laptop on a gray cushion displays a website with graphic designs. Hands type on the keyboard. Bare feet rest on a wooden floor.

A screenshot is a still image of what’s currently on your screen, which is ideal for saving or sharing visual information quickly. A screen recording captures your actions as a video, useful when explaining a process step by step. Both are easy to do on a MacBook or iMac, and we’ll walk you through all the options below.

What kind of screen recordings or screenshot do you want to take on a MacBook?

Whether you want to capture a full screen, part of the screen, or record your actions as a video on a MacBook, macOS offers keyboard shortcuts and a built-in screenshot tool to help. Here’s how to use them, step by step.

An Apple MacBook shows a FaceTime maths lesson, with a teacher on screen and a small caller window. A screenshot toolbar with Shift+Cmd+3 appears.

Full Screen screenshot

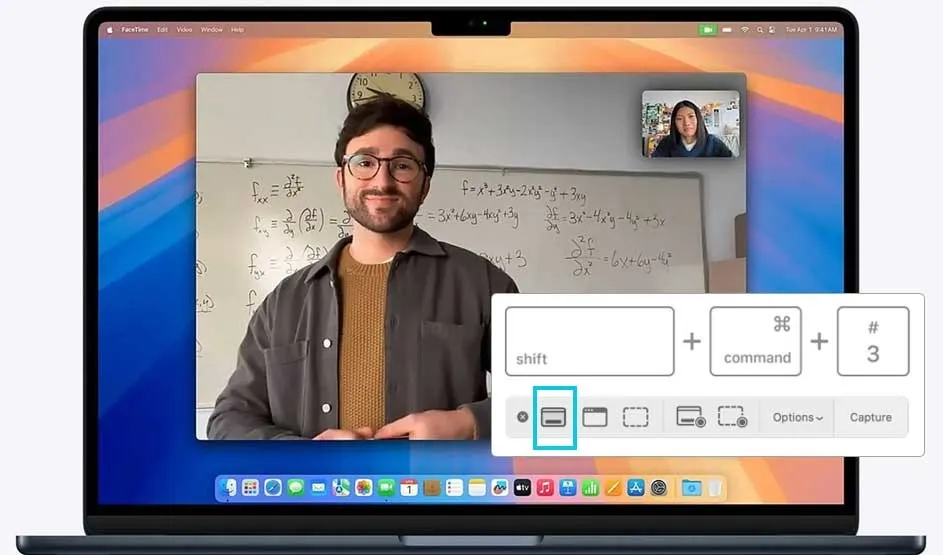
  1. Press Shift + Command (⌘) + 3.
  2. The entire screen is saved as an image.
  3. Find the file on your desktop.

An Apple Mac shows Safari open on an art site. A selected image is outlined, while the screenshot tool highlights Shift+Command+4 for capture.

Screenshot of a selected area

  1. Press Shift + Command (⌘) + 4.
  2. Your cursor becomes a crosshair.
  3. Click and drag to select the area.
  4. Release the mouse button of your Apple mouse or touchpad to take the screenshot.
  5. The image is automatically saved to your desktop.

An Apple Mac shows Safari on “Inspiration Archives”. The screen is tinted, with the screenshot pane showing Shift+Command+4 plus Space for window capture.

Screenshot of a window

  1. Press Shift + Command (⌘) + 4, then press the space bar.
  2. The cursor becomes a camera icon.
  3. Click the window you want to capture.
  4. The image will be saved to your desktop.

An Apple Mac desktop with a pink-purple wallpaper. The screenshot and screen recording toolbar floats above the Dock with Options and Record.

Recording the entire screen

  1. Press Shift + Command (⌘) + 5.
  2. Select Record Entire Screen.
  3. Click Start Recording.
  4. To stop, click the stop icon in the menu bar or press Command + Control + Esc.
  5. The video will be saved to your desktop.

An Apple Mac shows QuickTime Player’s File menu with “New Screen Recording” highlighted, plus a small video editing window beside it.

Recording part of the screen

  1. Press Shift + Command (⌘) + 5.
  2. Select Record Selected Portion.
  3. Drag to define the area you want to record.
  4. Click Start Recording.
  5. Stop the recording using the menu bar or Command + Control + Esc.

Tip: When you take a screenshot, a thumbnail briefly appears in the bottom-right corner. Click it to quickly edit, copy, or share your screenshot.

Additional features for taking a screenshot

An Apple Mac shows Snagit open with a blue welcome canvas, tool palettes on the right, and the Mac screenshot toolbar below with Options and Capture.

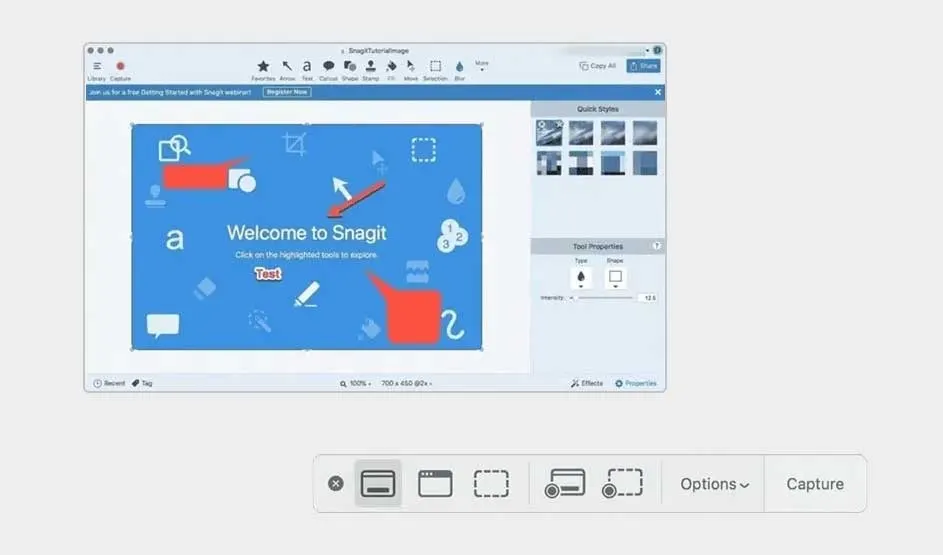
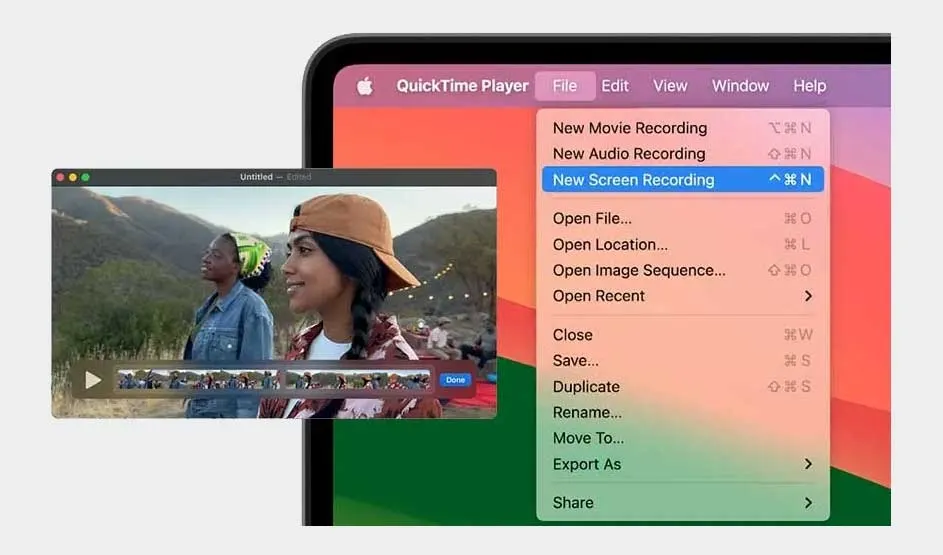
macOS includes handy tools and third-party apps to make screenshots and recordings even more useful:

  • Annotate your captures: use apps like Snagit, Skitch or Lightshot to draw, highlight, or add notes to your images.
  • Edit and share instantly: crop, enhance, or share your screenshots right after taking them.
  • Use QuickTime for screen recordings: ideal if you need to record audio or want more control during screen captures.

Does taking a screenshot work differently on other Mac devices?

Two people chat while viewing a sleek dark-blue Apple MacBook, the logo visible on the lid, in a softly lit studio with colour swatches behind.

The basic screenshot shortcuts and functions work the same across MacBook Pro, MacBook Air, iMac, and Mac Mini. However, keyboard layouts (like AZERTY or QWERTY) or screen resolutions might differ slightly. Macs running older versions of macOS may lack some features; for example, Shift + Command + 5 won’t work on macOS versions before Mojave. On iPhones or iPads, the process is different.

How to take a screenshot with your iPad

Our advice on how to take a screenshot on your Apple MacBook

Taking screenshots and screen recordings on a Mac is simple. Whether you want to capture an entire screen, a single window, or a small selection, macOS makes it easy with shortcuts and built-in tools. For added functionality, try apps like Snagit or QuickTime. In just a few steps, you'll have everything you need on-screen and ready to share.

These articles may also be interesting for you